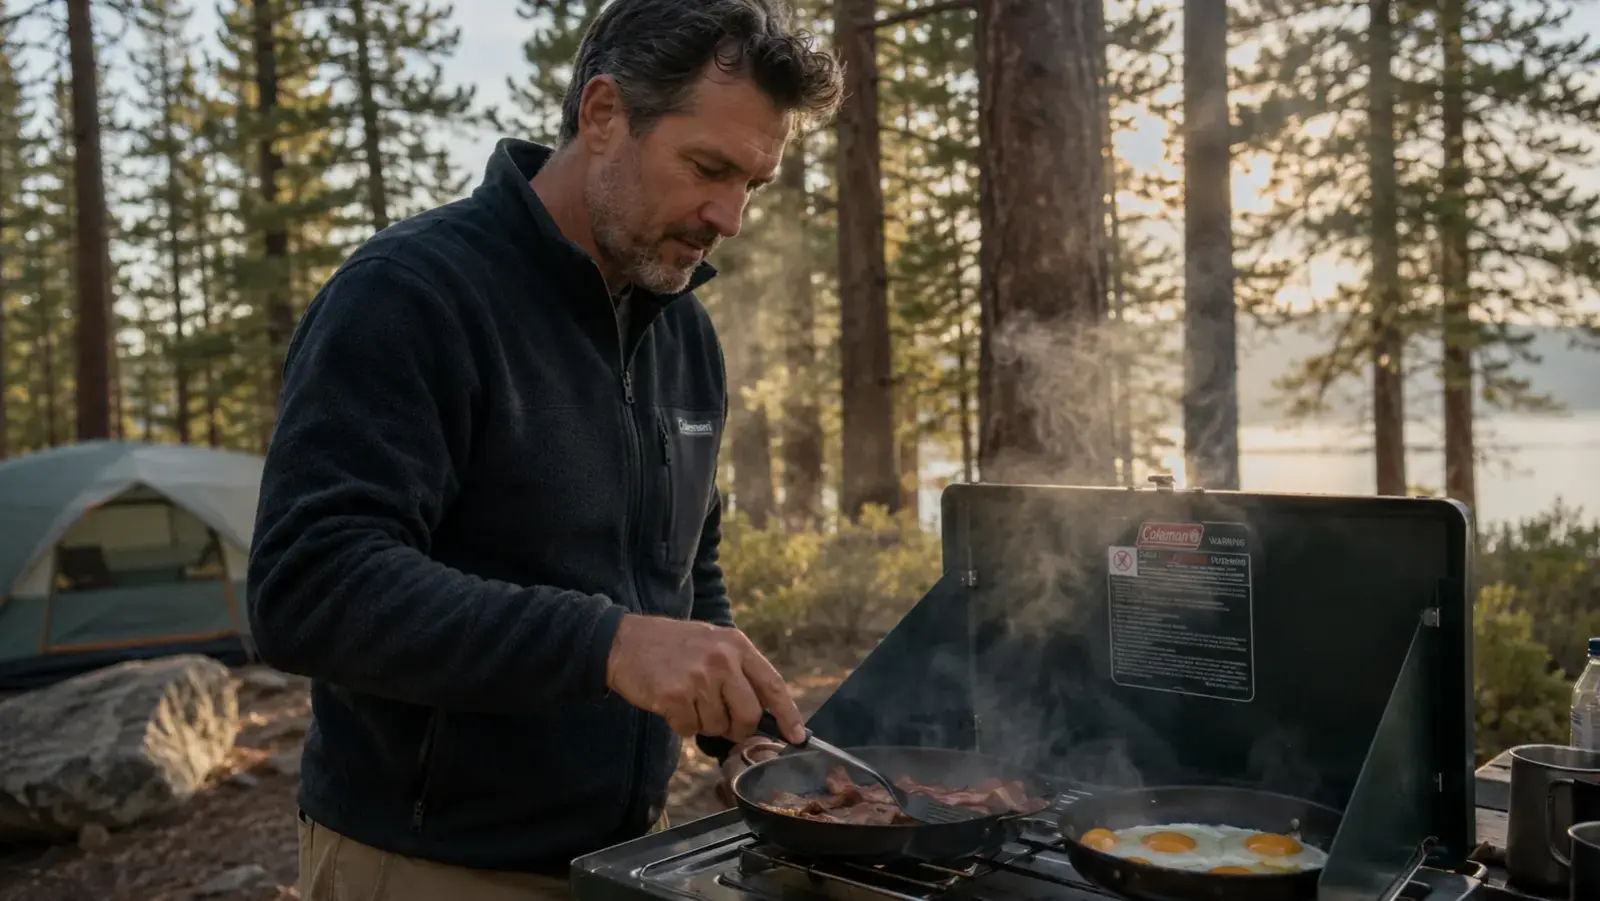
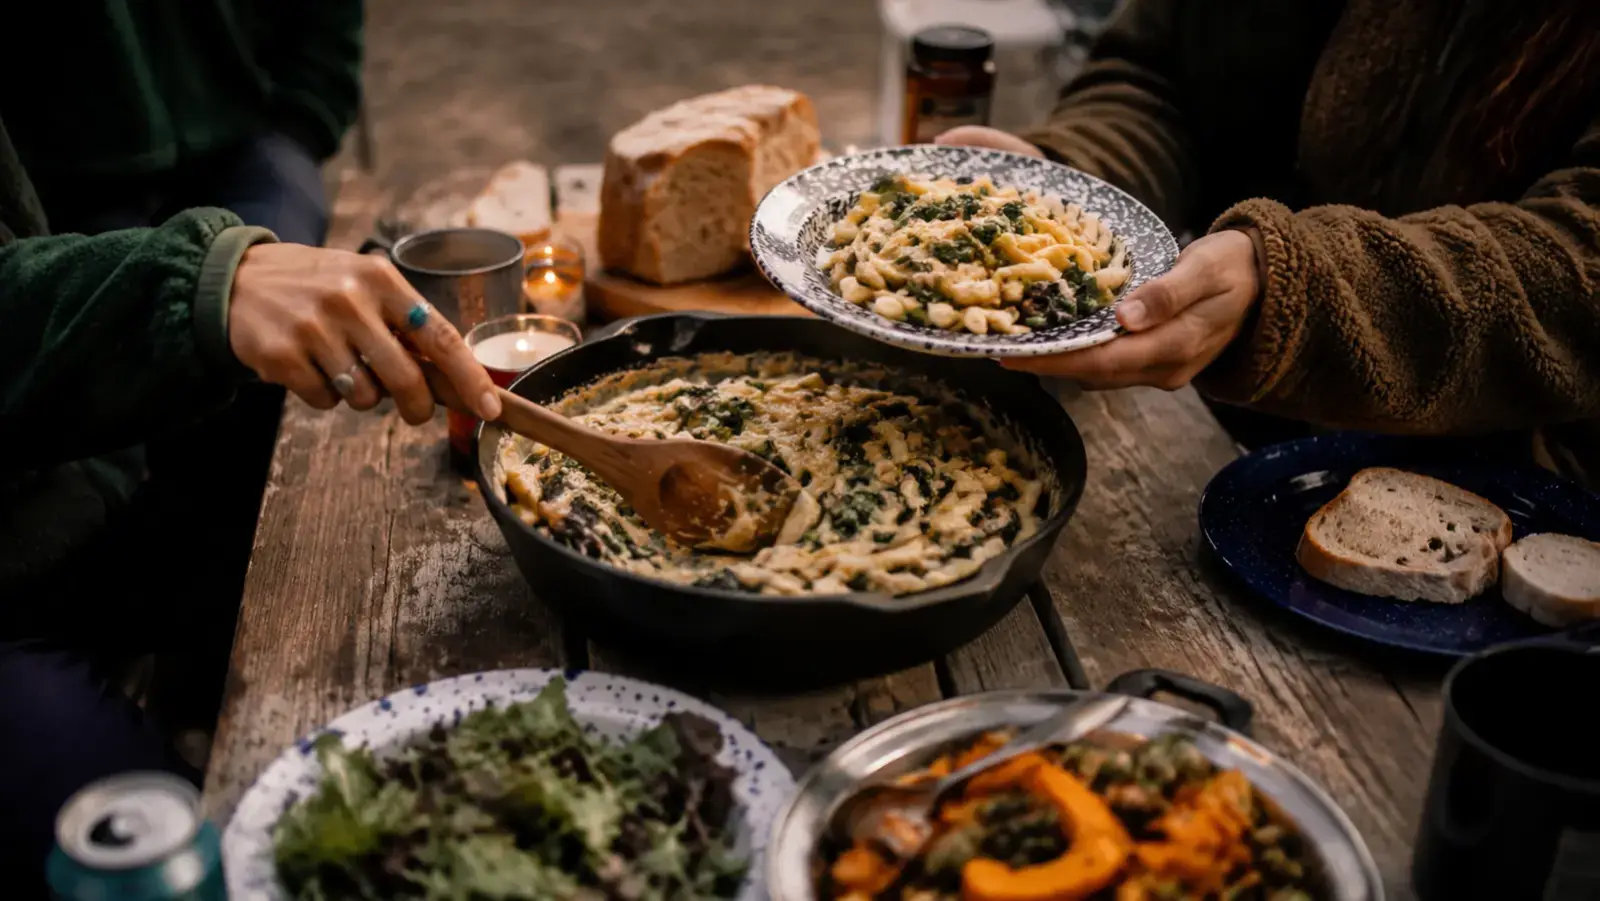
Most camp cooking failures trace back to one thing: trying to time two things at once when you only have one burner. You end up with cold eggs waiting on hot bacon, or pasta water that never boils because you've had the flame cranked up under a pan that needs low, steady heat. I've been that person. I made that mess at a campsite in Colorado with four hungry adults watching me scrape overdone eggs into a tin pan.
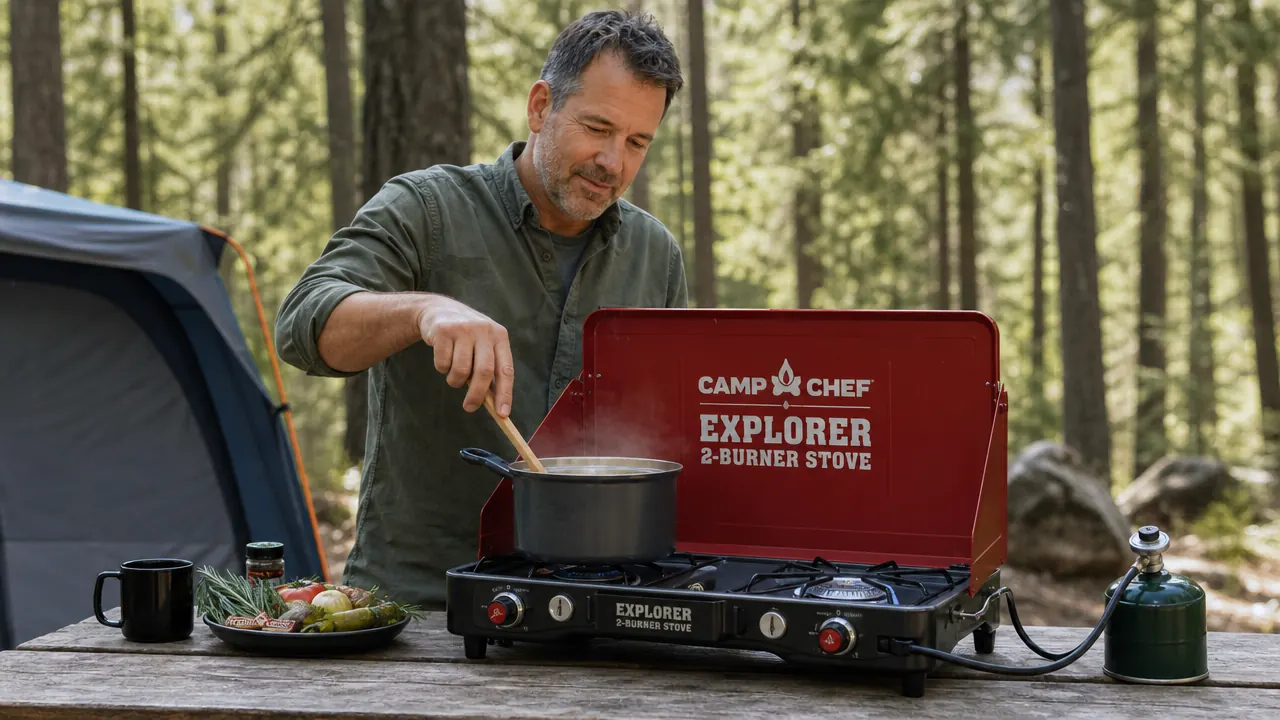
A two-burner camp stove solves the timing problem, but only if you know how to run both burners at the right heat levels for the right tasks. The Camp Chef Explorer is the stove I've been cooking on for the past four seasons. It puts out 30,000 BTU per burner, has two cast-iron compatible grates, and a matchless ignition that actually works at 9,000 feet. This guide walks through the five steps I follow every time I cook a real meal at a campsite, from camp cooking prep the night before to cleanup that doesn't leave a greasy mess on the picnic table.
Stop eating cold eggs at camp, the Explorer runs both burners at full 30,000 BTU
The Camp Chef Explorer 2-burner stove has a 4.7-star rating across 9,450 reviews. Matchless ignition, cast-iron grates, and modular legs that set up in under a minute. Check today's price before your next trip.
Amazon Check Today's Price on Amazon →Step 1: Set Up the Stove Before You Need to Cook
The worst time to figure out your camp stove is when three kids are asking when breakfast is ready. Set the stove up when you arrive at the site, before you even unpack the food. On the Camp Chef Explorer, that means unfolding and locking the three modular legs until they click, placing the stove on a stable surface at counter height, and running the propane connection before dark. The Explorer uses a standard 1-pound canister or adapts to a 20-pound tank with a hose connection. I always bring the 20-pound tank for trips longer than one night. A 1-pound canister at 30,000 BTU runs out faster than you think.
One setup mistake I've seen at campgrounds: people level the stove on a soft surface and then wonder why their oil slides to one side of the pan. If the picnic table has a lip, use it as a backstop. If you're on uneven ground, one of the Explorer's legs adjusts enough to compensate for moderate slope. Take 90 seconds to do this before the propane goes on. It matters more with a cast iron skillet than with a lightweight aluminum pan because the weight distribution is less forgiving.
Step 2: Assign Each Burner a Role Before You Light Anything
The biggest mistake with a two-burner camp stove is treating both burners as identical. They're not, because every camp cooking task has a different heat profile. Before you light the first burner, decide which task goes where. My default assignment: the left burner runs high heat for searing, boiling water, or browning meat. The right burner runs lower, steadier heat for eggs, sauces, or anything that needs patience. This matters especially for the Explorer because at full 30,000 BTU, the left burner will blacken eggs in under two minutes if you don't back it off once the pan is hot.
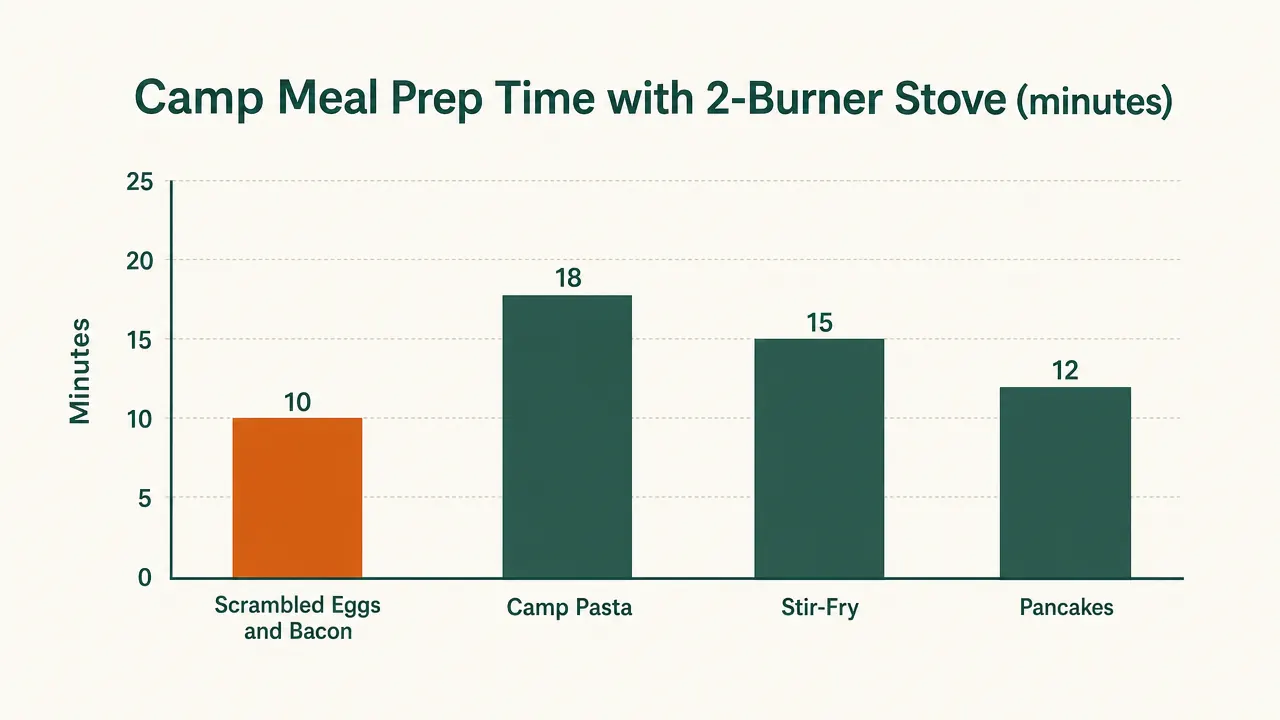
For a four-person breakfast, the sequence I use: bacon or sausage goes on the left burner in the cast iron at medium-high to render the fat slowly. Scrambled eggs go on the right burner in a lighter pan at medium-low, started about four minutes after the meat. Coffee water goes on whichever burner opens up first. Write this out the night before if you're cooking for a crowd. Verbal sequencing at 7am with a propane stove running is harder than it sounds.
Step 3: Manage Flame Height for Wind, Not Just Heat
Wind is the variable that makes outdoor camp cooking with a propane stove different from cooking at home. A steady 10-mph breeze reduces effective heat output by 30 to 40 percent. The Explorer has built-in windscreens on three sides that fold up from the body of the stove. Use them every time there's any wind at all, not just when it's gusting. I've watched people skip the windscreens on a mild morning and then wonder why their pasta water took 20 minutes to boil. The screens take eight seconds to raise.
Even with the windscreens up, strong crosswind from the open side can deflect the flame. If the campsite orientation puts the wind at your back, rotate the stove so the open side faces away from the prevailing direction. If you're stuck with a headwind, place a second item, like a cutting board or a camp chair back, on the downwind side as a temporary block. This is not elegant, but it works. The flame on the Explorer is visually readable, so you can see when it's getting pushed sideways before the heat drops enough to affect your food.
A steady 10-mph breeze cuts effective BTU output by 30 to 40 percent. The windscreens take eight seconds to raise. Raise them every time.
Step 4: Run Cast Iron Correctly on a Camp Stove
Cast iron at camp is not the same as cast iron at home. On a home range the heat is even and you can preheat slowly. On a two-burner propane stove, the flame produces a hot center directly under the grate and cooler edges. On a 12-inch lodge skillet, that means the center will be 50 to 75 degrees hotter than the outer inch when you first put it down. Preheat on medium for three full minutes, then move the pan in small circles over the burner for 30 seconds before you add fat. This distributes the heat more evenly before anything goes in.
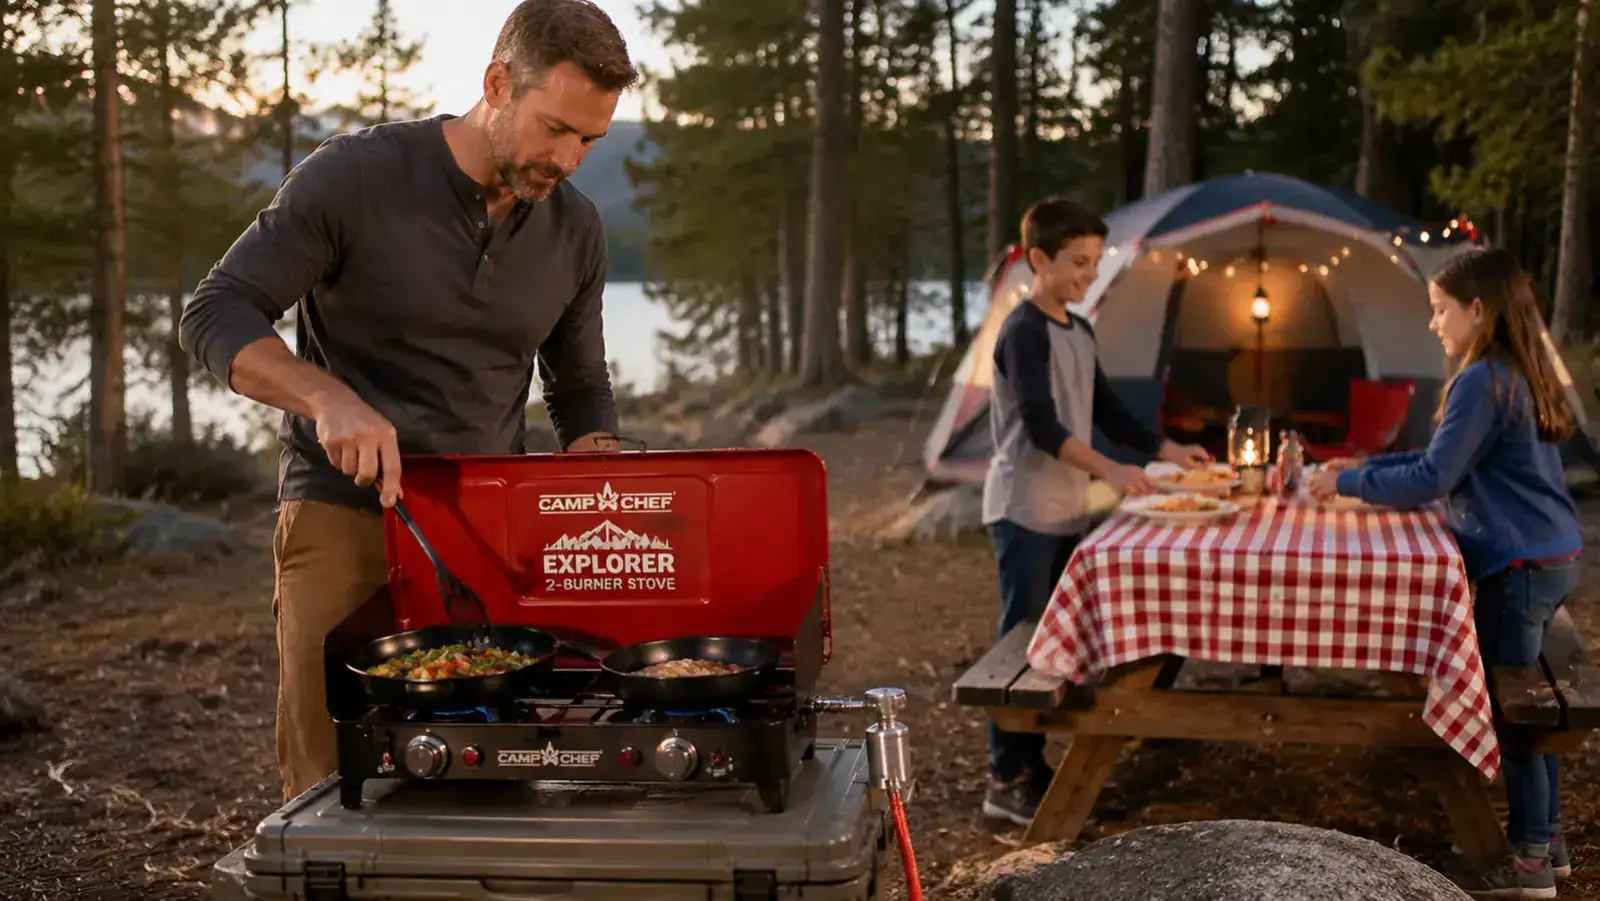
The Explorer's cast iron grates are heavy enough to hold a 12-inch skillet and a dutch oven without flex. I've cooked a full pot of chili in a 5-quart dutch oven on the left burner at low simmer while running a second pan on the right, and the grates didn't move. The only failure mode I've hit: very light aluminum pans on high flame can vibrate off the grate on uneven ground. If you're using lightweight camp cookware, use the right burner at medium and keep the high heat reserved for the cast iron, which is heavy enough to stay put. Read more on the Explorer's build in the Camp Chef Explorer honest review.
Step 5: Build Your Cleanup Into the Cooking Sequence
Cleanup is part of camp cooking, not an afterthought. Grease that sits on a camp stove grate overnight attracts animals and turns into a carbon layer that reduces heat transfer on the next cook. My process: when the last item comes off the stove, I put a half cup of water in the used pan and put it back on the cooling burner. The residual heat loosens any stuck bits. While that's sitting, I wipe the grate with a folded paper towel using the tongs I just used to flip the bacon. The grates on the Explorer are removable, which makes this easier than stoves with fixed grates. Pull them, wipe them, set them aside.
For cast iron, don't use soap. Pour out the water, scrub with a stiff brush or coarse salt, rinse with the minimal water you can get away with, then dry on the low flame of the right burner for two minutes before you put it away. A wet cast iron skillet that goes back in the truck develops rust spots within 24 hours at altitude. I've ruined two skillets this way before I built this step into every cookout. Two minutes on the burner after cleaning is cheaper than a new skillet.
What Else Helps When You're Cooking for Four or More
The stove is the core, but a few other pieces make the difference between a functional camp kitchen and a chaotic one. A folding table beside the stove gives you prep space that isn't the picnic table where someone is eating. A simple cutting board that doubles as a surface for resting hot pans keeps the tablescape manageable. And a two-liter insulated bottle of boiling water made the night before means morning coffee doesn't have to wait on a full boil.
Heat management also gets easier with practice on the same stove. The Explorer's knobs have a tactile range from the ignition click down to the low setting, and after a few trips you develop a feel for where medium-low actually is without watching the flame. That muscle memory speeds up every cook. If you're still deciding whether to upgrade from a single-burner setup, the 10 reasons a two-burner stove beats a single-burner breaks down the difference in practical terms.
One thing the how-to guides don't usually mention: altitude drops boiling point. At 8,000 feet water boils at roughly 197 degrees instead of 212. That means pasta takes four to five minutes longer than the package says and beans take 20 percent more time if you're doing them from dry. Plan for it. The stove output doesn't change at altitude, but your cook times do, and if you're used to sea-level cooking you'll pull pasta that's still firm in the center if you go by the clock.
The Camp Chef Explorer is what makes all of this actually work
30,000 BTU per burner, cast-iron grates, built-in windscreens, matchless ignition. It's rated 4.7 stars by 9,450 campers who cook real food outdoors. Check today's price and see if it's in stock.
Amazon Check Today's Price on Amazon →